



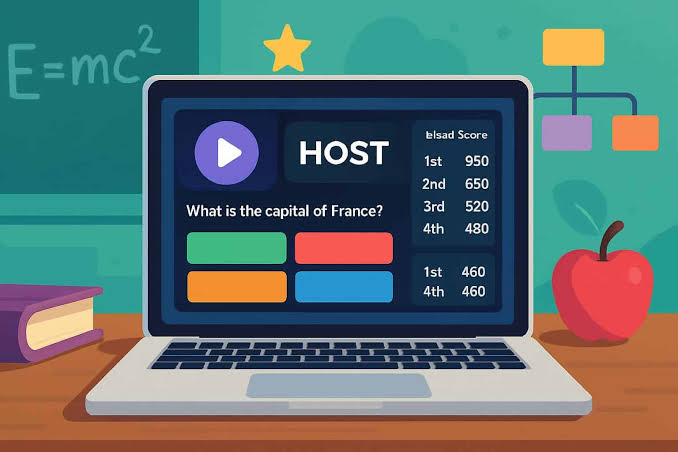
A Gimkit host creates and manages live classroom games.
The host selects the kit, mode, rules, and joining options.
Unlike players, hosts control the entire session. They can monitor participants, adjust time, and review results afterward.
Gimkit Hosting at a Glance
| Detail | Information |
|---|---|
| Platform | Gimkit |
| Host role | Creates and controls a game |
| Account required | Yes, an Educator account |
| Student accounts | Optional |
| Joining methods | Game code, link, or QR code |
| Standard live-game limit | Up to 500 students |
| 2D mode limit | Up to 60 students |
| Free hosting | Available with Gimkit Basic |
| Post-game data | Class, student, and question reports |
| Official join page | Gimkit Join |
What Is a Gimkit Host?
A Gimkit host is usually a teacher or activity leader. The host starts a live game from an existing “Kit.” A Kit contains the questions used during gameplay.
The host does more than share a game code. They choose the mode, configure the rules, and control access. During 2D games, they can spectate players or join the activity.
An Educator account is required for hosting. However, students can often participate without creating accounts. Gimkit confirms these requirements in its account creation guide.
How to Host a Gimkit Game
Hosting follows a short setup process. First, sign into your Gimkit Educator account. Then, open your dashboard and select a Kit.
Click Play Live beside the chosen Kit. You can also open the Kit and select Play Live from its information panel. The Mode Picker will then appear.
Follow these steps:
- Select the Kit you want to use.
- Click Play Live.
- Choose a suitable game mode.
- Review the available game options.
- Set the game goal or duration.
- Decide whether late joining remains enabled.
- Click Continue to open the lobby.
- Share the code, link, or QR code.
- Wait for students to appear.
- Select Start Game.
These steps match Gimkit’s official live-game hosting instructions.
How Students Join the Host
Students can visit gimkit.com/join and enter the displayed code. The host may also copy the direct joining link. Both options lead to the same live session.
A QR code provides a quicker mobile option. The host can hover over the lobby’s game code to display it. Students then scan the code using their devices.
Before starting, check the participant list carefully. Remove unknown or inappropriate names. The Nickname Generator can automatically assign safe names. This setting also prevents students from entering custom names.
A Faster Classroom Entry Routine
A simple routine can reduce wasted lesson time:
- Display the QR code before students enter.
- Keep the written code visible underneath.
- Enable generated nicknames for younger groups.
- Start only after checking the participant count.
- Explain the game goal before opening gameplay.
This routine is an editorial recommendation based on Gimkit’s host controls. It is not an official Gimkit requirement.
Important Gimkit Host Settings
The available settings depend on the selected game mode. However, several standard choices appear across live games.
| Host Setting | What It Controls | Practical Use |
|---|---|---|
| Game goal | Determines how the session ends | Match it with lesson time |
| Join in late | Allows entry after starting | Useful for large classes |
| Nickname Generator | Assigns safe player names | Reduces moderation problems |
| Class connection | Links players with a roster | Improves report organization |
| Spectator or player | Sets the host’s game role | Spectate when supervision matters |
| Sound controls | Adjusts music and effects | Helpful during quiet lessons |
Late joining is enabled by default. Gimkit also remembers the host’s previous selection. Therefore, teachers should check this setting before every session. The behavior is documented in Gimkit’s late-joining guide.
What Can a Host Control During Gameplay?
In 2D modes, the host can act as a spectator. Their screen shows the currently observed player. Previous and Next buttons allow quick movement between participants.
The Players menu displays everyone inside the game. From there, the host can spectate or remove a participant. A separate button opens the leaderboard.
The game code remains available during play. Clicking it enlarges the code for late arrivals. Sound controls also let the host adjust music and effects.
For timed 2D sessions, clicking the timer adds one minute. Gimkit limits the maximum game length to 59 minutes. Further details appear in the official guides covering 2D host controls and adding game time.
Choosing the Right Mode
The most exciting mode is not always the best choice. Hosts should consider the lesson objective first. Fast modes suit revision, while collaborative modes can encourage discussion.
Use this simple decision framework:
| Classroom Goal | Better Hosting Approach |
|---|---|
| Quick factual review | Choose a short competitive mode |
| Group cooperation | Select a team-based mode |
| Individual practice | Reduce direct player conflict |
| Calm assessment | Use simple rules and quiet audio |
| End-of-lesson activity | Set a firm time limit |
| Detailed performance review | Use a Kit owned by your account |
Explain the winning condition before starting. Otherwise, students may focus on movement without understanding the learning task. A short demonstration also helps first-time players.
Player Limits and Free Hosting
Gimkit places a hard limit of 500 students on standard live games. All 2D game modes have a separate limit of 60 students. Network quality may still affect performance before these limits are reached.
Student accounts have different hosting restrictions. A student logged into a student account can host up to five players. Gimkit Creative supports sessions with up to 60 participants.
Gimkit Basic allows Educators to host games without paying. However, free accounts receive limited rotating game modes. Gimkit Pro unlocks every mode and additional features. Current limits should always be checked on Gimkit’s player maximums page because platform rules may change.
Reports After the Game
Hosting creates useful information after gameplay. Reports can show overall class performance, individual results, and question-level patterns.
Gimkit provides three main report views:
- Student Overview
- General Overview
- Question Breakdown
Question Breakdown is especially valuable. It reveals which questions caused widespread difficulty. Teachers can use those results to plan the next explanation or lesson.
Reports appear after a completed game. They can also be opened later through the dashboard’s Reports tab. Gimkit allows reports to be saved as PDF files, as explained in its game reports guide.
Common Gimkit Hosting Problems
A missing student usually entered the wrong code. Ask them to reopen the join page and try again. If nobody can connect, check the school network and Gimkit’s service status.
A game may also feel slow on crowded Wi-Fi. Reduce simultaneous streaming and unnecessary browser tabs. Large 2D sessions require a stable connection.
If a desired mode appears locked, the account may use Gimkit Basic. Free modes rotate periodically. Locked access does not necessarily indicate a technical error.
Final Host Checklist
Before pressing Start Game, confirm five things:
- The correct Kit is selected.
- The mode supports your lesson goal.
- The duration fits the remaining time.
- Every expected student appears.
- Nickname and late-entry settings are correct.
A successful Gimkit host combines preparation with supervision. The code starts the session, but thoughtful settings shape the learning experience. Afterward, reports turn gameplay into practical teaching evidence.
Read more:Butrflyskullmama Explained: A Username, Not a Verified Celebrity